

GitHub Wikis
GitHub Wiki is a feature provided by GitHub that serves as an online space for hosting documentation related to software projects. It allows for the collaborative creation and editing of information in a wiki-style format, seamlessly integrated into GitHub repositories. This functionality is especially useful for creating comprehensive, easily accessible documentation that complements the codebase.
Key Features Include
Section titled “Key Features Include”- Collaborative Documentation: Team members can contribute and edit content collectively, ensuring diverse input and up-to-date information.
- Easy Navigation: Structured like a traditional wiki, it allows for easy navigation through pages, enhancing information accessibility.
- Markdown Support: Utilizes Markdown for formatting, enabling the creation of well-structured and visually appealing documentation.
- Revision Tracking: Changes made to the Wiki pages are tracked, allowing teams to view historical edits and revisions.
- Integration with Repositories: Directly linked to the GitHub repository, ensuring that the documentation is as accessible as the codebase.
How We Use GitHub Wiki at Planet Argon
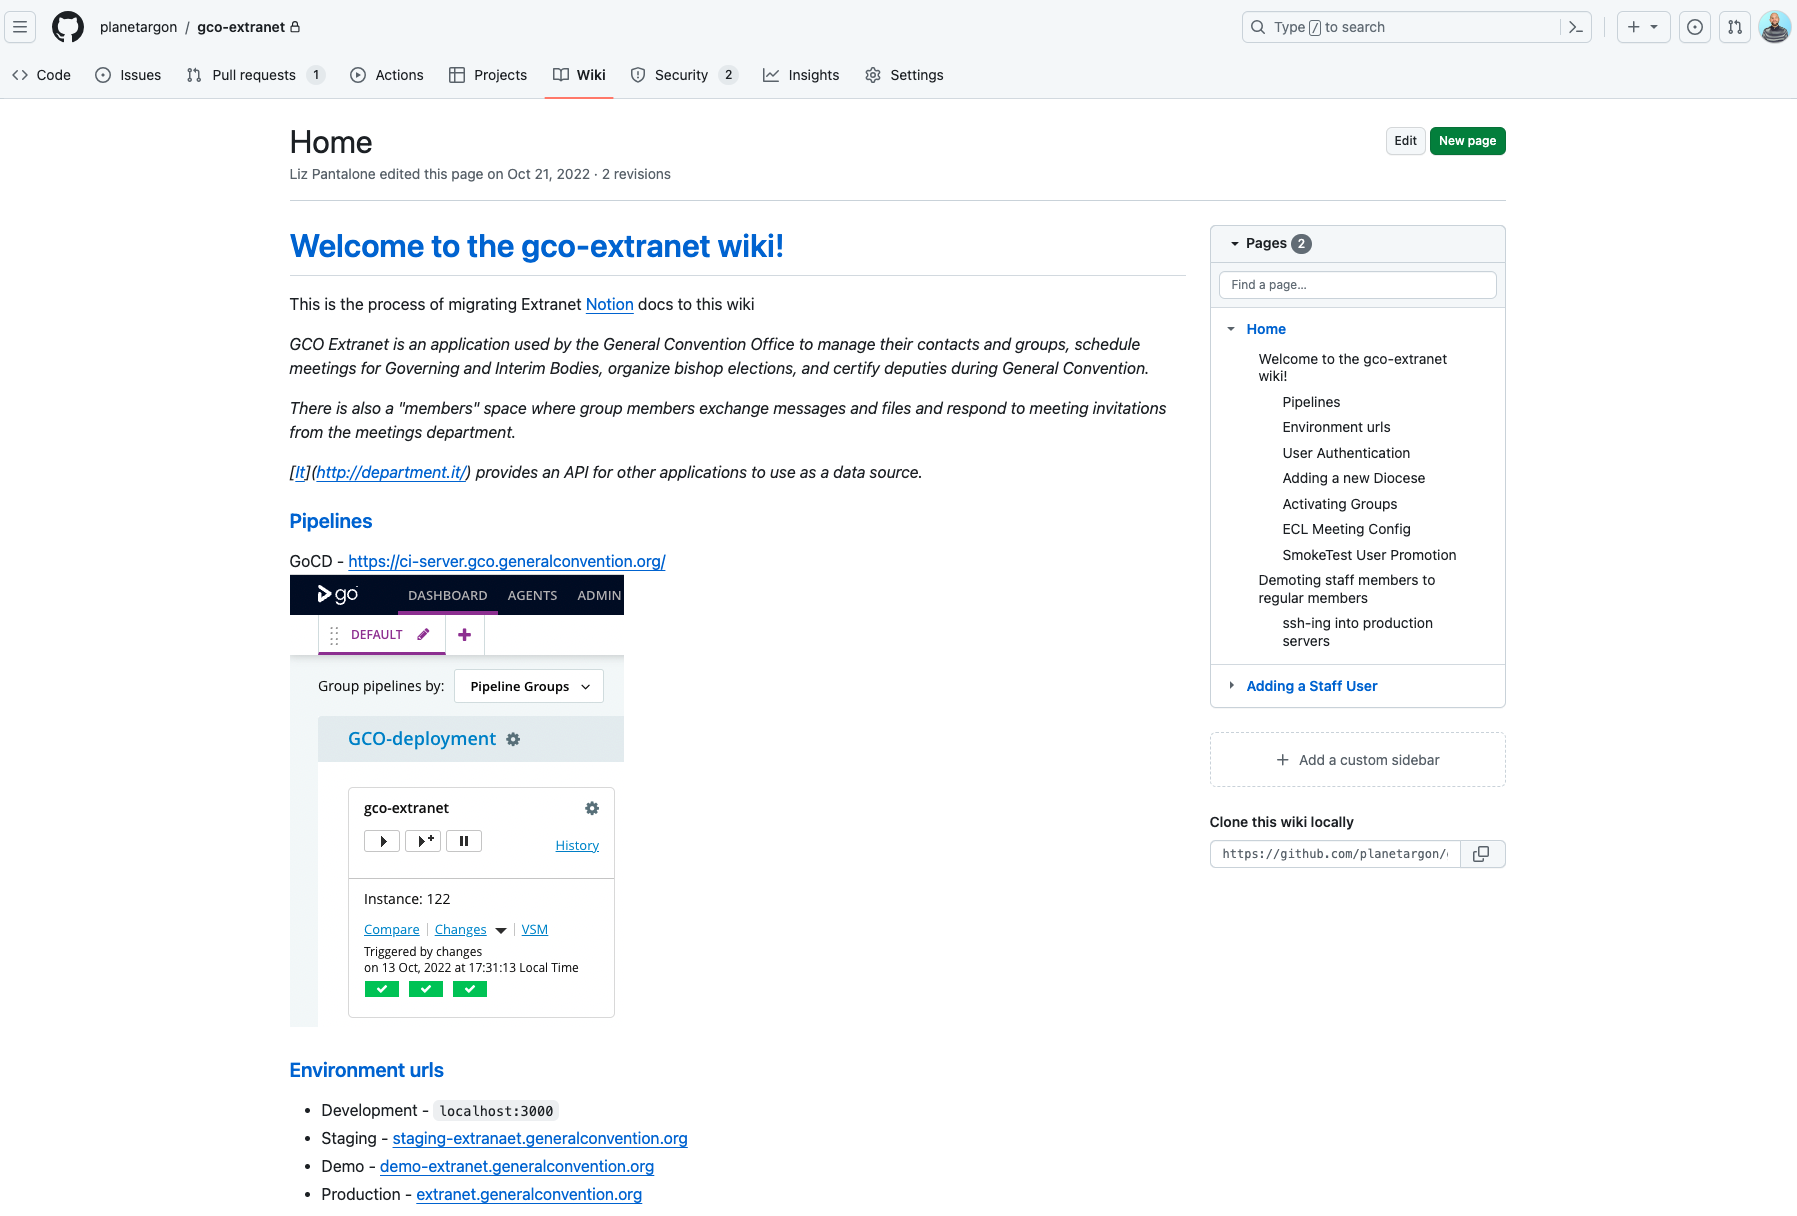
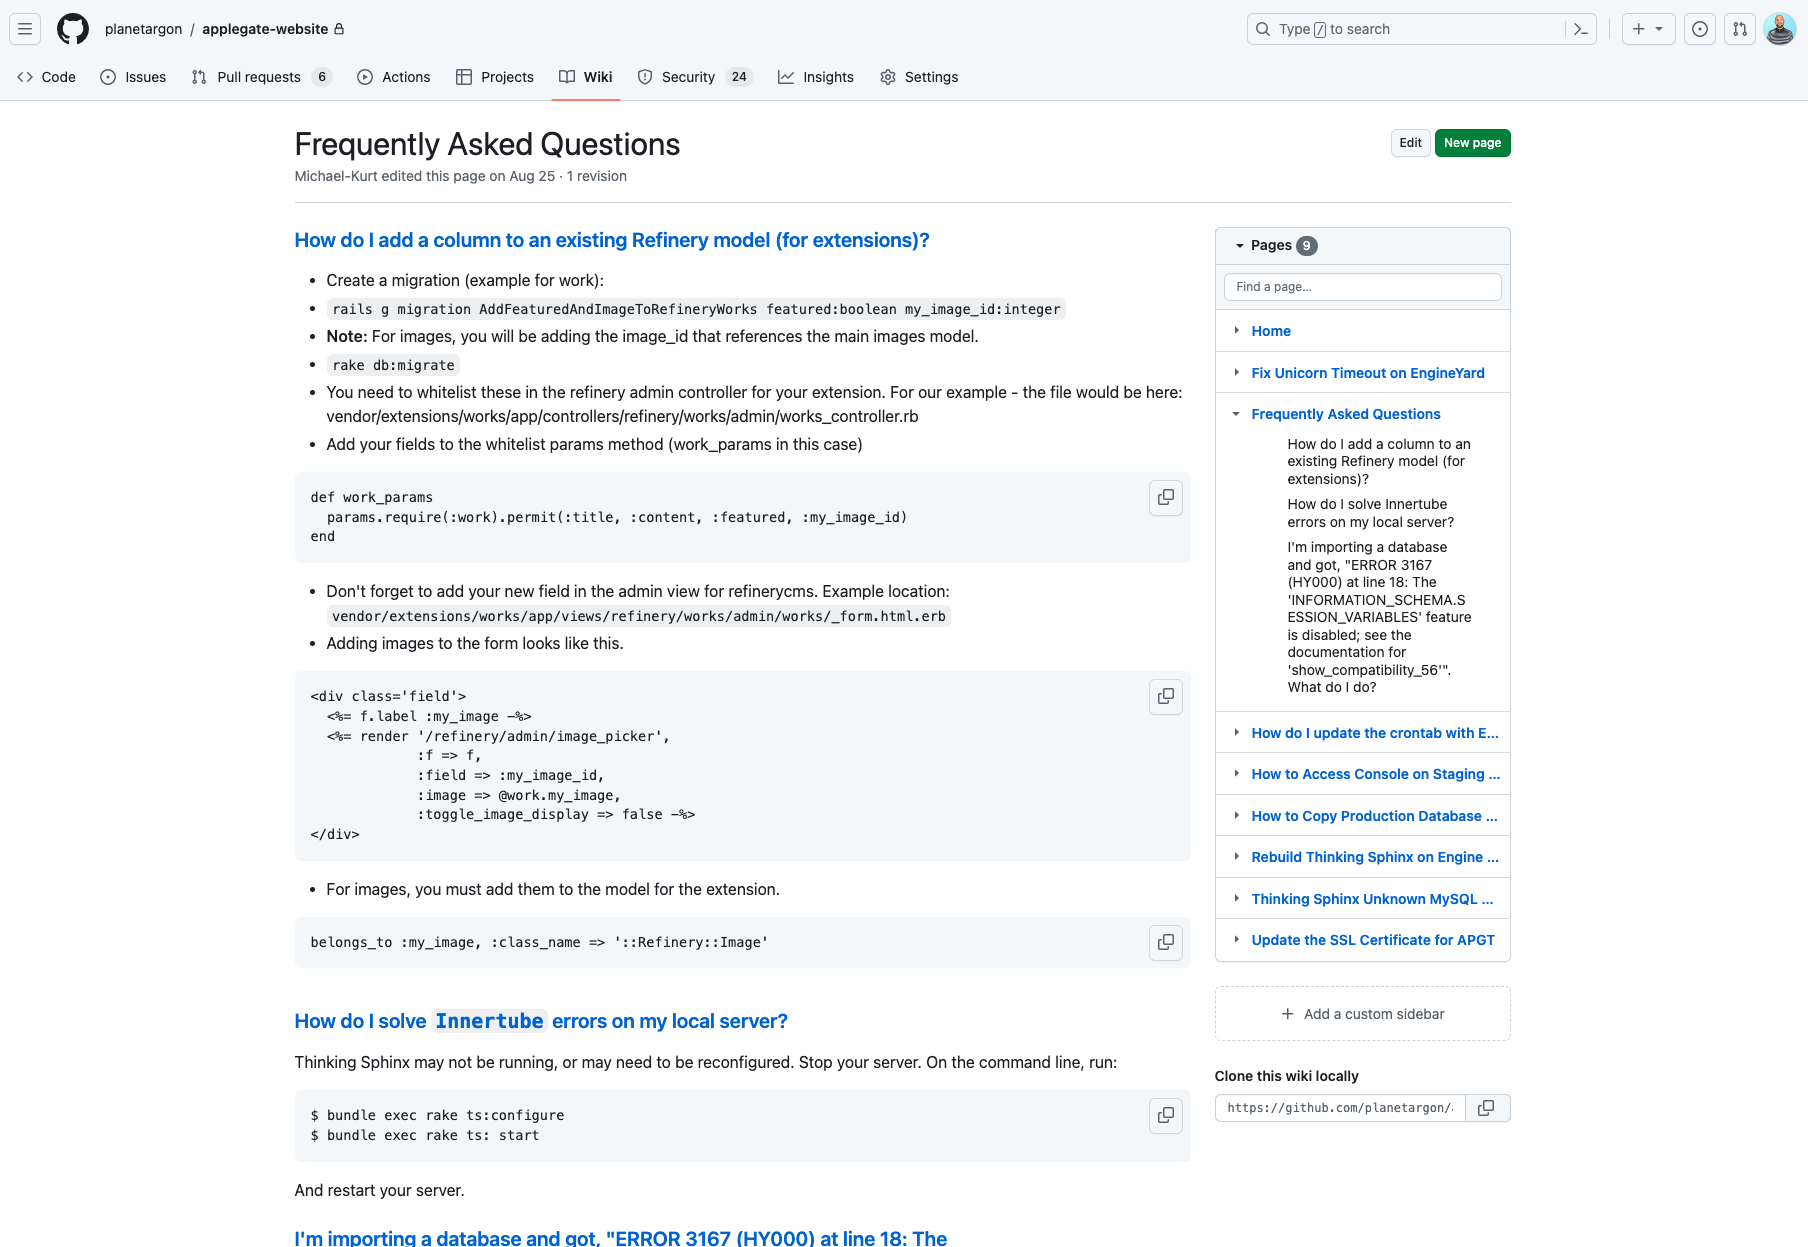
Section titled “How We Use GitHub Wiki at Planet Argon”We mainly use GitHub Wiki as a way to store supplemental project documentation that might not be suitable for a README or Confluence space.
- Supplementing Project READMEs: We use the Wiki to provide more in-depth information than what is typically included in a project’s README file.
- Enhancing Confluence Spaces: The Wiki acts as a complementary space to our Confluence documentation, offering more technical and project-specific details.
- Hosting Technical Information: This includes environmental URLs, data flow diagrams, and other technical specifics crucial for understanding and working with the project.
- Project FAQs: A space for frequently asked questions, where team members can find quick answers to common queries.
- Glossary: We use the Wiki to provide engineers definitions of project-specific words or phrases that may not be self-evident.
Creating a Wiki on a GitHub Repository
Section titled “Creating a Wiki on a GitHub Repository”To create a Wiki in a GitHub repository that doesn’t already have one:
- Navigate to the Repository: Go to the main page of the repository on GitHub.
- Access the Wiki Section: Click on the “Wiki” tab, usually found in the upper menu of the repository page.
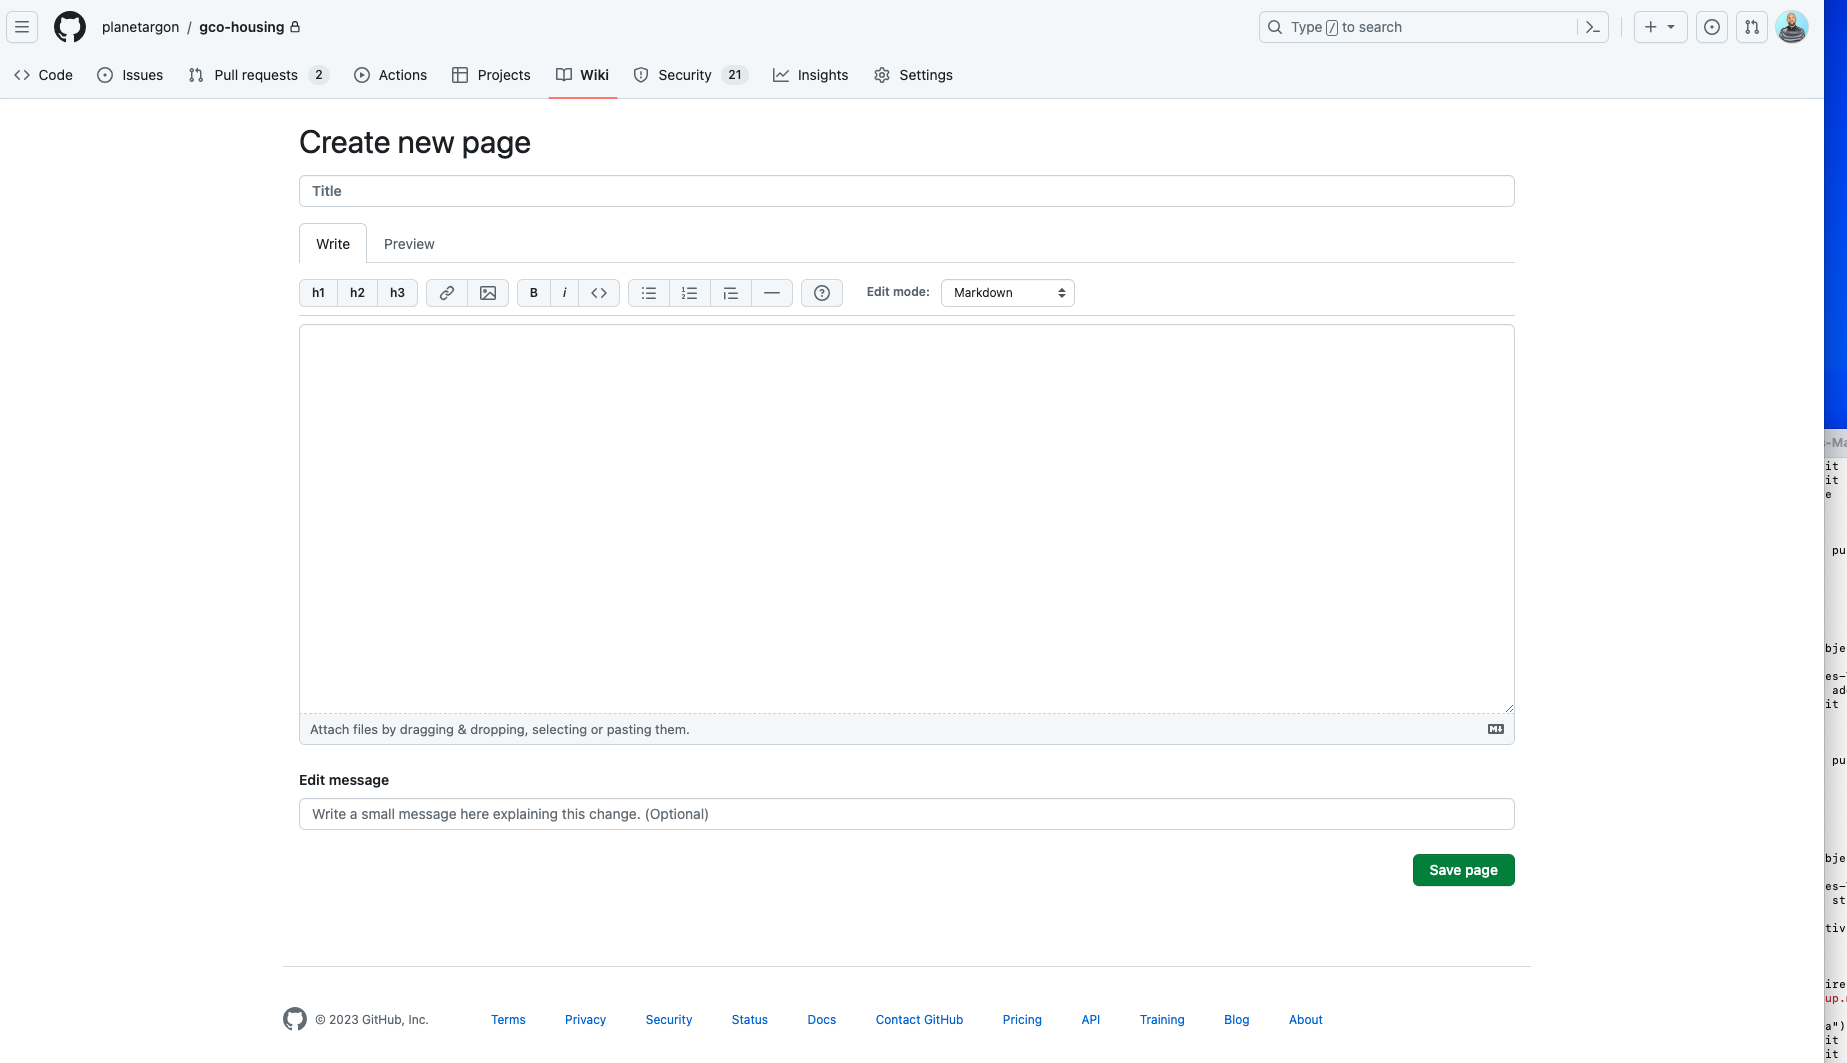
- Start the Wiki: If a Wiki hasn’t been set up yet, you’ll see an option to ‘Create the first page’. Click this to start setting up your Wiki.
- Edit Your First Page: Use the markdown editor to add content to your Wiki page. Once you’re done, give your page a title and save it.
Contributing to an Existing GitHub Wiki
Section titled “Contributing to an Existing GitHub Wiki”To contribute to an existing GitHub Wiki:
- Access the Wiki: Go to the “Wiki” tab in the repository where you wish to contribute.
- Edit or Add Pages: You can edit existing pages by clicking the “Edit” button on the page you wish to change. To add a new page, click the “New Page” button.
- Follow Markdown Syntax: GitHub Wikis use Markdown for formatting. Familiarize yourself with Markdown to effectively format your content, or use Adam Pritchard’s fantastic Markdown Cheatsheet.
- Commit Your Changes: Once you’ve made your edits or added a new page, commit the changes with a brief description of what you’ve done.
Helpful Resources
Section titled “Helpful Resources”For more detailed guidance and best practices, the following GitHub documentation can be immensely helpful:
- GitHub Wiki Basics: Creating and editing wikis
- Markdown Guide: Mastering Markdown
- Best Practices: Documenting your projects on GitHub
By effectively using GitHub Wikis, our engineering team can maintain comprehensive, up-to-date, and accessible documentation, enhancing both our individual and collective productivity and understanding of our projects.