
technical communication / writing good Jira tickets / tec.
Overview This article should help provide some resources for confirming technical requirements with anyone with skin in the game. That includes:
Non-technical Client Team
Technical Client Team
Project Managers
Technical Team Members
Developers (especially junior developers, new team members, or future team members)
Interns
Contractors
QA
Why is this important? The best way to get on the same page is to make sure we all understand one another. This can be difficult, because sometimes folks feel afraid to let on that they do not understand something technical. It can also be challenging when more confident technical folks make assumptions without confirming them. There is a lot of different language used that could mean very different things to different people.
Even simple requests can be misinterpreted For example, a client request might look like this:
Please add a question to the signup form asking where they heard of us.
- Client X
What information might be we be missing here?
Do we know exactly what the signup form is?
Do we know where on the form they want to put this question in relation to other form elements?
Is it a required question?
What type of field is it? Check boxes? Radio buttons? Text area?
If it is check boxes or radio buttons:
What are the options?
If there is an “Other” option, does selecting it reveal an “Other” text field?
Answering these questions might seem like a lot of extra overhead for a simple request, but getting these questions answered before taking action will ultimately result in a more pleasant outcome for the client, and less re-work for the development team.
Taking complexity into consideration The amount of effort it takes to confirm the technical requirements will vary depending on the complexity of the feature. Below are some examples of the types of varying complexity we might encounter and the escalating challenges of mutual understanding.
In the Potential Considerations During Refinement cell, these are the things that the person should think as things that need to be answered & included in the Jira issue description before it can be marked DEV READY .
Client Request
Complexity
Potential Considerations During Refinement
“I found a typo on the about us page, boigraphy should be biography. Thanks!”
LOW
Confirm the location of typo by finding it in source code or navigating to it in browser, and sharing file location or URL to speed up development for other developers
“Please add a question to the signup form asking where they heard of us. “
LOW
Confirm missing details with client via questions in Jira or during meeting
“Users are complaining that the email field blanks out before they can submit the referral form”
MEDIUM
Confirm missing details with client via questions in Jira or during meeting.
May require video or screenshots to confirm the bug.
“We want to add [some b2b service] review integration to our product page.”
HIGH
Confirm missing details with client via questions in Jira or during meeting.
Share screenshots of where various features might be integrated into existing product page.
Create flow-charts for user interactions.
Create wire-frames or mock-ups to confirm UI
“Add a feature that lets people click a heart icon that saves a product to a favorites list.”
HIGH
Confirm missing details with client via questions in Jira or during meeting.
Share screenshots of where various features might be integrated into existing product page.
Create flow-charts for user interactions.
Create diagram detailing out database requirements.
Create wire-frames or mock-ups to confirm UI.
Tools and Tactics to Ensure Consensus
Written Requirements
Ask questions instead of assuming
If there is any room for making assumptions about how the end result will look or behave, we should ask clarifying questions. Being clear about these things does not necessarily mean that more questions won’t come up during development, but it will mean that the issue is actionable.
Jira description should contain written requirements After the client has answered the questions, make sure they are documented in the issue description in a way that is clear, especially if a developer picks up the issue who was not in the initial discussion.
Developers should not have to dig through multiple issues, comment threads, slack conversations, emails, or zoom meeting recordings in order to get all of the information they need.
If there is external information that is helpful, like documents, designs, etc, it should be clearly linked in the description or attached to the issue, it definitely doesn’t need to be inlined into the issue description.
Use easy to read formatting :ballot_box_with_check: Use headlines to separate sections
:ballot_box_with_check: Break up long paragraphs of text
:ballot_box_with_check: Use code to distinguish regular text from variable names or other technical strings
:ballot_box_with_check: Use bulleted and numbered lists
Remove unnecessary or confusing details Keep the ticket description tidy by removing details that might have been added during the discovery process or during initial ticket creation that are not relevant or just add to the noise. Jira will save a history of the changes to the issue description, or you can move details into comments if you want to preserve some visibility into the changes you’ve made.
What sort of stuff might be removed?
Unused sections of ticket template
Questions and answers that require extra reading
Internal notes used during discovery process that are no longer necessary
If it feels useless, it might be useless
Screenshots If there’s anything that clears up a question about an existing page quickly and with minimal effort, it is taking a screenshot of the page and pointing a big neon arrow at the part you suspect needs to be fixed.
When screenshots are useful:
When a client shows a project manager an issue on a zoom call
When a client, or someone doing QA or a PR, finds a bug or issue
When a developer wants to confirm where to put something on a page
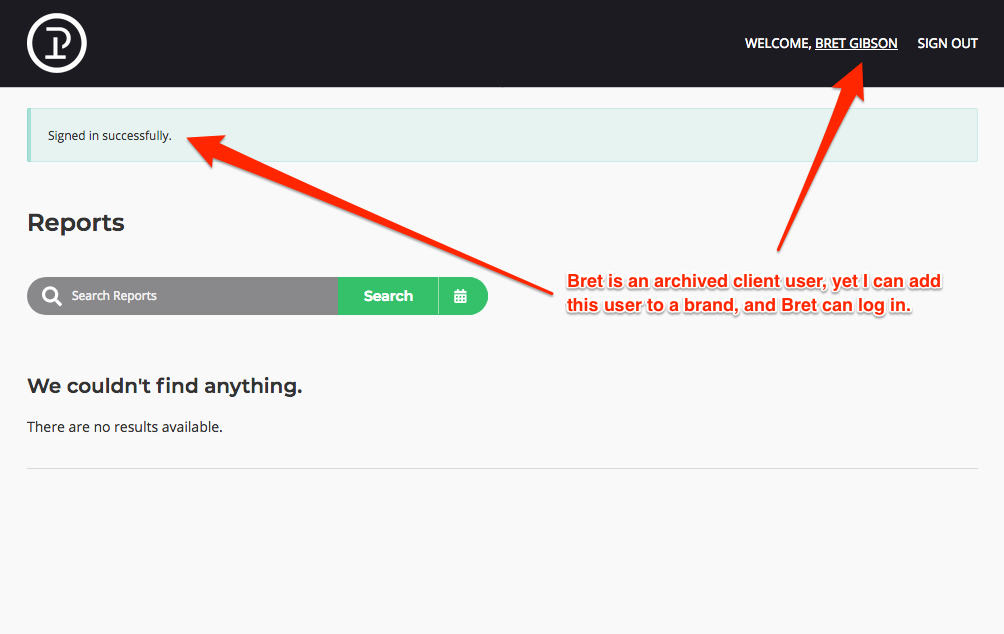
:tools: Tool: Skitch https://evernote.com/products/skitch
A lot of us here at Planet Argon use Skitch. It’s relatively intuitive and features some handy neon arrows.
:tools: Tool: Monosnap https://monosnap.com/
The nice thing about Monosnap is that it can capture video as well! I believe the example screenshot above came from Monosnap.
:tools: Tool: Mac OS ⇧⌘4 (Shift + Command + 4)
The operating system can take screenshots! Woo! There are no annotations, but if the context is clear, you may not need them.
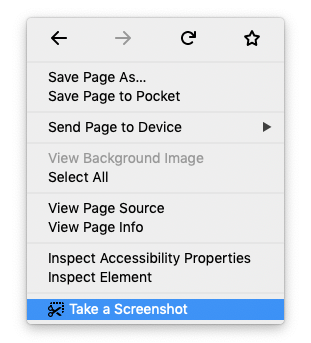
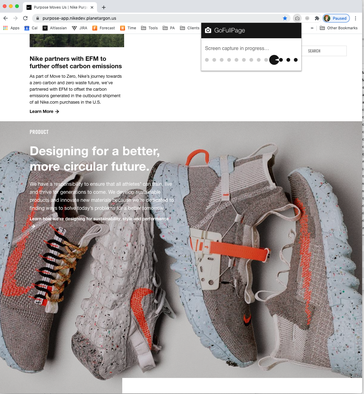
:tools: Tool: Firefox or Chrome You might need to take a full-page screenshot that is longer than your screen can handle.
Firefox has a built in screenshot feature. Just right-click on the page and click ‘Take a Screenshot’
Chrome has a number of extensions that can handle creating screenshots. One that I have used in the past is called GoFullPage.
Videos Capturing a screen-share video is the next best thing to hopping on a Zoom call with someone and sharing what you are seeing with them. In fact, it can be even better because they can re-watch easily later to confirm details that might have been missed.
Try to:
Keep it specific and concise
Narrate what you are doing
There are a lot of different options when it comes to capturing video, so if you’re not into the one listed below, feel free to explore.
:tools: Tool: Monosnap https://monosnap.com/
Monosnap allows you to select a portion of your screen, and lets you capture video & voice narration easily.
Flow Charts Flow charts can be useful for a variety of reasons, especially with complex features that involve user interactions, integrations, or data manipulation.
There are a lot of different tools out there that can create flow charts. You can search the App Store (or use a search engine) for ‘flow chart’, ‘diagram’ or ‘mind map’ applications and find a whole treasure trove of options.
A few are listed below as well.
Scenarios when flow charts may come in handy:
Adding a feature where a logged-in user can “love” a product, and that “loved” product is saved to a list for that user to view later. If the user is not logged-in, they will encounter a different experience when they attempt to “love” a product.
Explaining to a client how data from a third-party integration or API is consumed by the application, and how the application updates/sends back data to the third-party integration based on user input, or some other function.
Flow charts are a very handy way to quickly mock up what an experience might look like given different inputs.
In the example below, the client outlined some scenarios that they wanted to work using a new filter. The ask was well thought out and detailed enough that one could theoretically feel safe to begin doing development.
With the workflow, we realized that one of the scenarios would essentially lead to a very complex SQL query that could potentially cause some big performance problems, let alone add a lot of technical complexity. It opened the door to have more conversations about what the end goal of the client was, and alternate ways to get there.

:tools: Tool: Figma https://www.figma.com/login
Figma is a browser-based drag and drop design tool. After setting up an account on Figma, you can add a free plugin called SimpleFlow that helps add lines/arrows between elements.
The graphic above was created using Figma with the SimpleFlow plugin.
:tools: Tool: Creately https://app.creately.com
Creately is made to handle creating diagrams and flowcharts, however the free version only allows for a couple documents, but it’s pretty inexpensive as far as monthly subscriptions go. If you use up your documents, you can also delete old ones or work in a different section of an existing one :woman_shrugging:
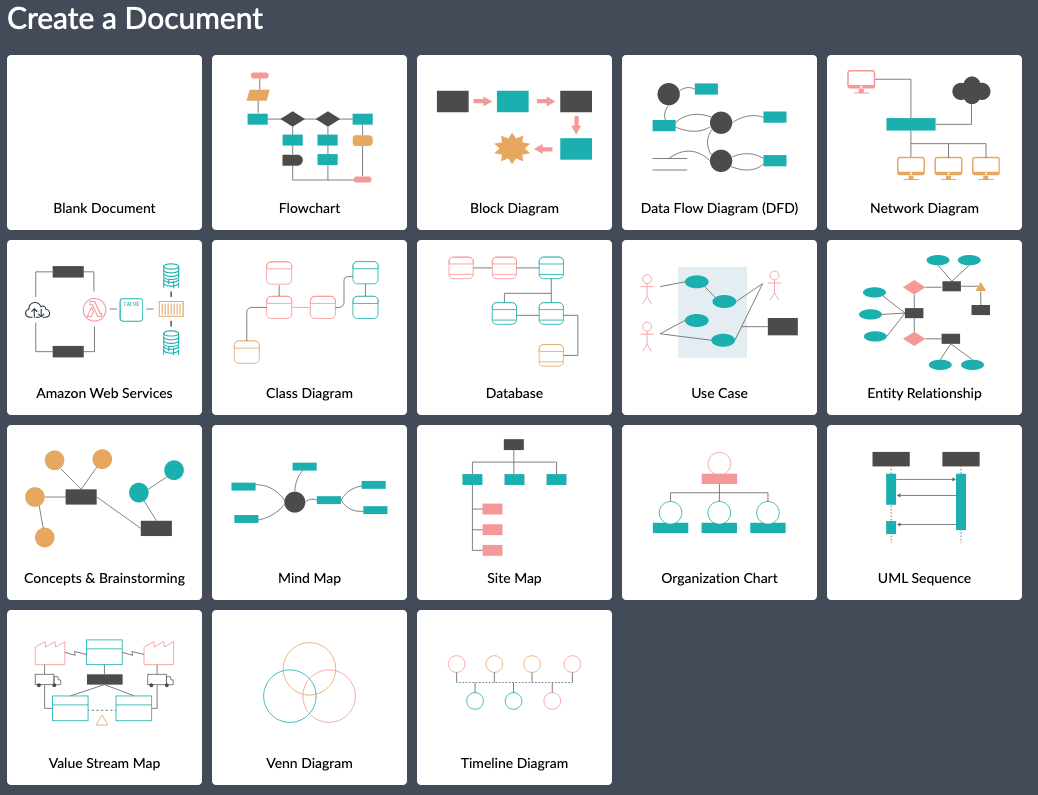
:tools: Tool: TextUSM Extension for VS Code https://marketplace.visualstudio.com/items?itemName=harehare.textusm
This extension is a little bit rough around the edges, but is convenient because you can stick to using Visual Studio Code, if that is your IDE.
Use it by interacting with the Command Palette ⇧⌘P (shift + command + P) and selecting TextUSM: New Diagram (it might help to have an empty file open already). You may then select a diagram type. It will open another column with a preview of the diagram.
This tool might be more handy for more technical diagramming for data architecture tasks.
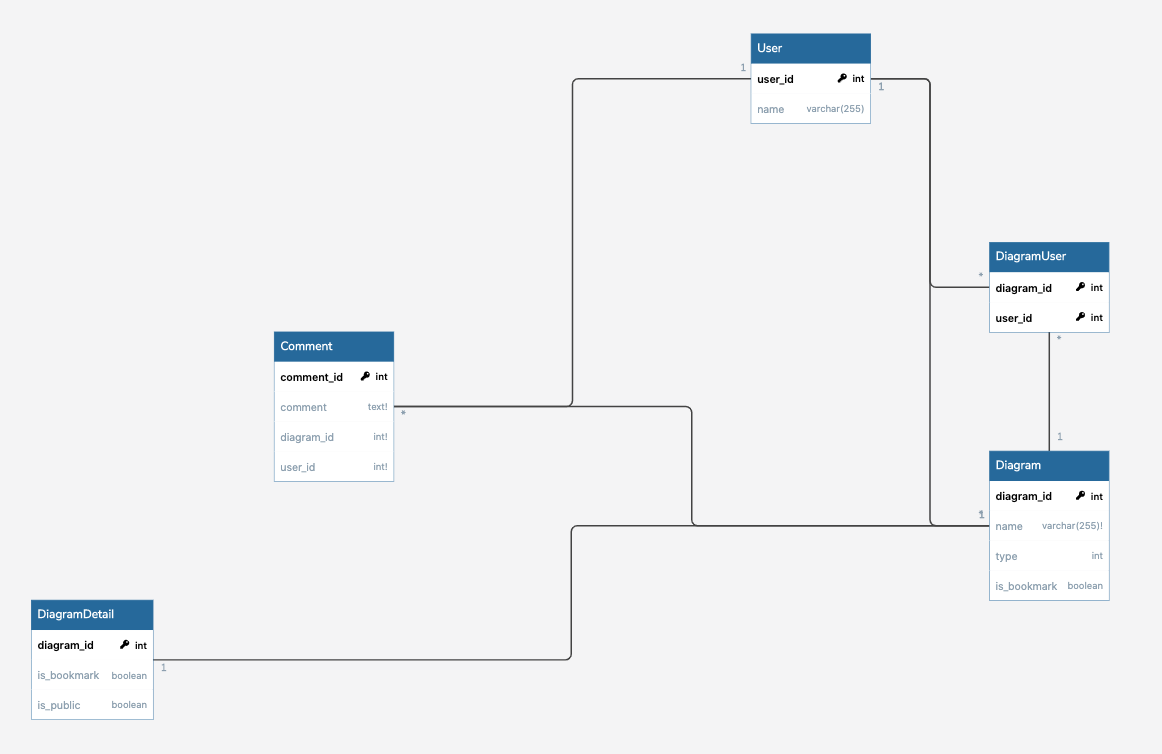
ER Diagram Example:
relations DiagramDetail - Diagram # One To Many User < Comment Diagram < Comment User < Diagram User < DiagramUser Diagram < DiagramUser tables Diagram diagram_id int pk name varchar(255) not null type enum(userstorymap,mindmap) is_bookmark boolean default false DiagramDetail diagram_id int pk is_bookmark boolean default false is_public boolean default false Comment comment_id int pk comment text not null diagram_id int not null user_id int not null User user_id int pk name varchar(255) DiagramUser diagram_id int pk user_id int pk